While I have not studied art formally (save a few classes when I was abroad in Madrid), I have found myself increasingly interested in getting to know new (especially local) artists, such as Saya Behnam.

Iranian-Born, DC-Based Artist Saya Behnam Discusses & Demonstrates Her Mixed Media Work and Process
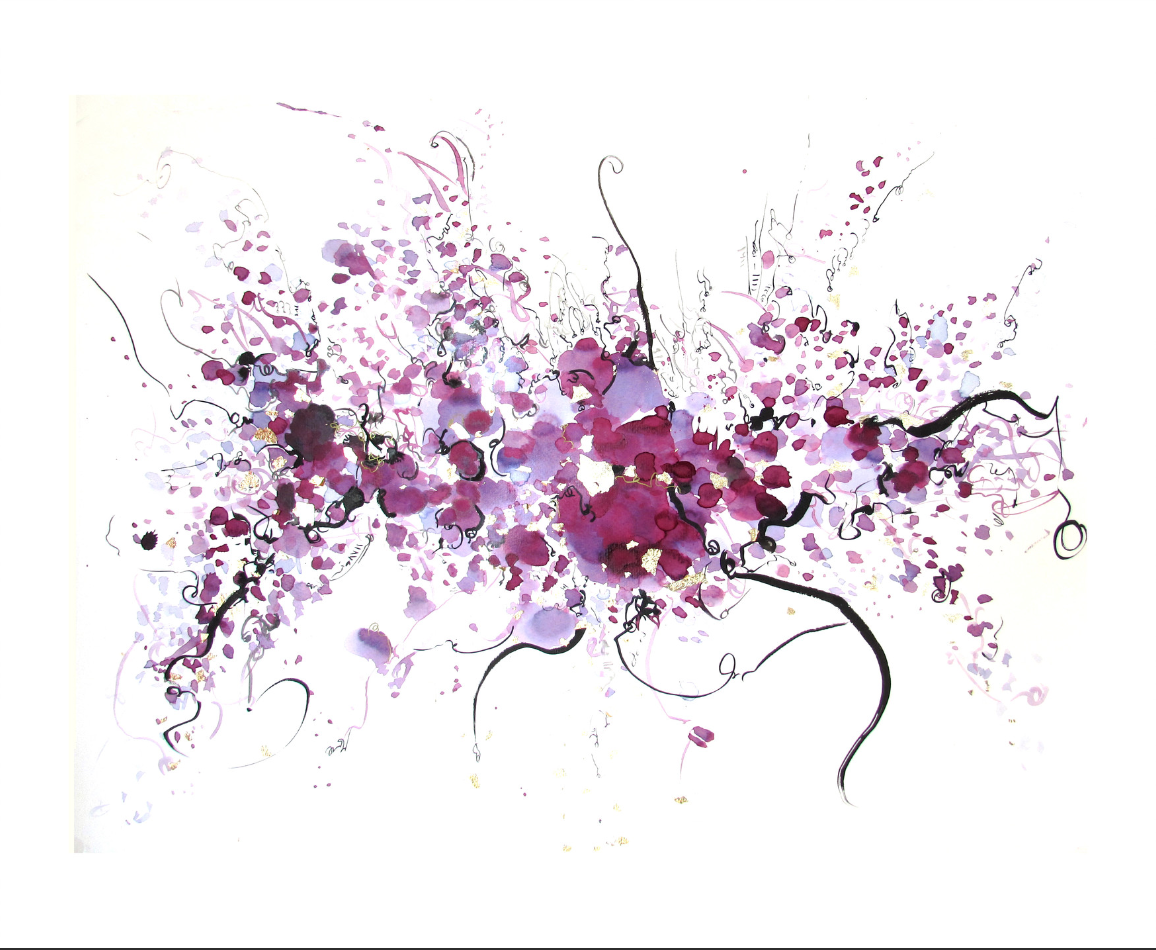
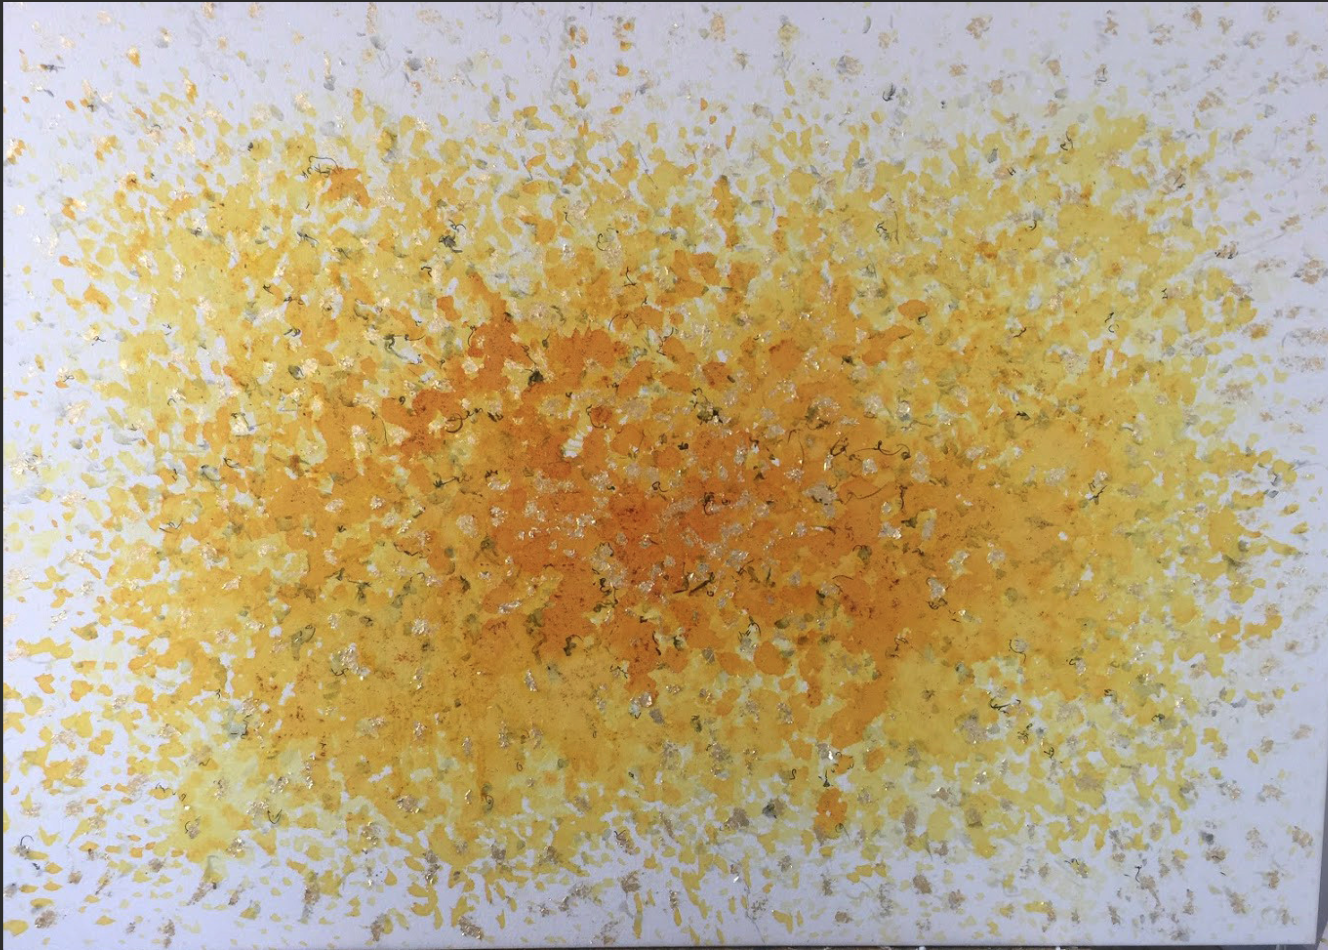
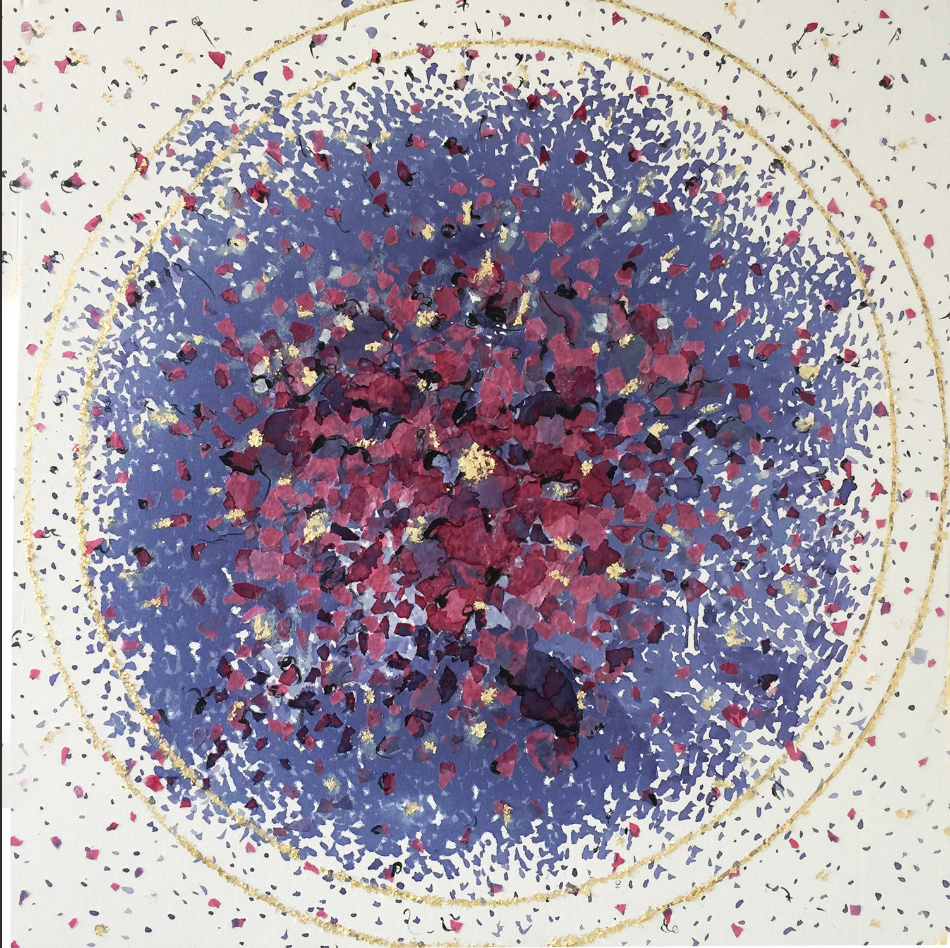
After seeing a post from Artist's Proof on Instagram a few weeks ago, I rallied some friends to join me for a special event the gallery was hosting with Behnam. During the evening, the artist showcased mixed media works from her Saffron & Tea series, in addition to elaborating on her process in working with naturally derived colors from saffron and hibiscus (among other elements) and pairing them with paper, gold and ink to add further dimension to her work.

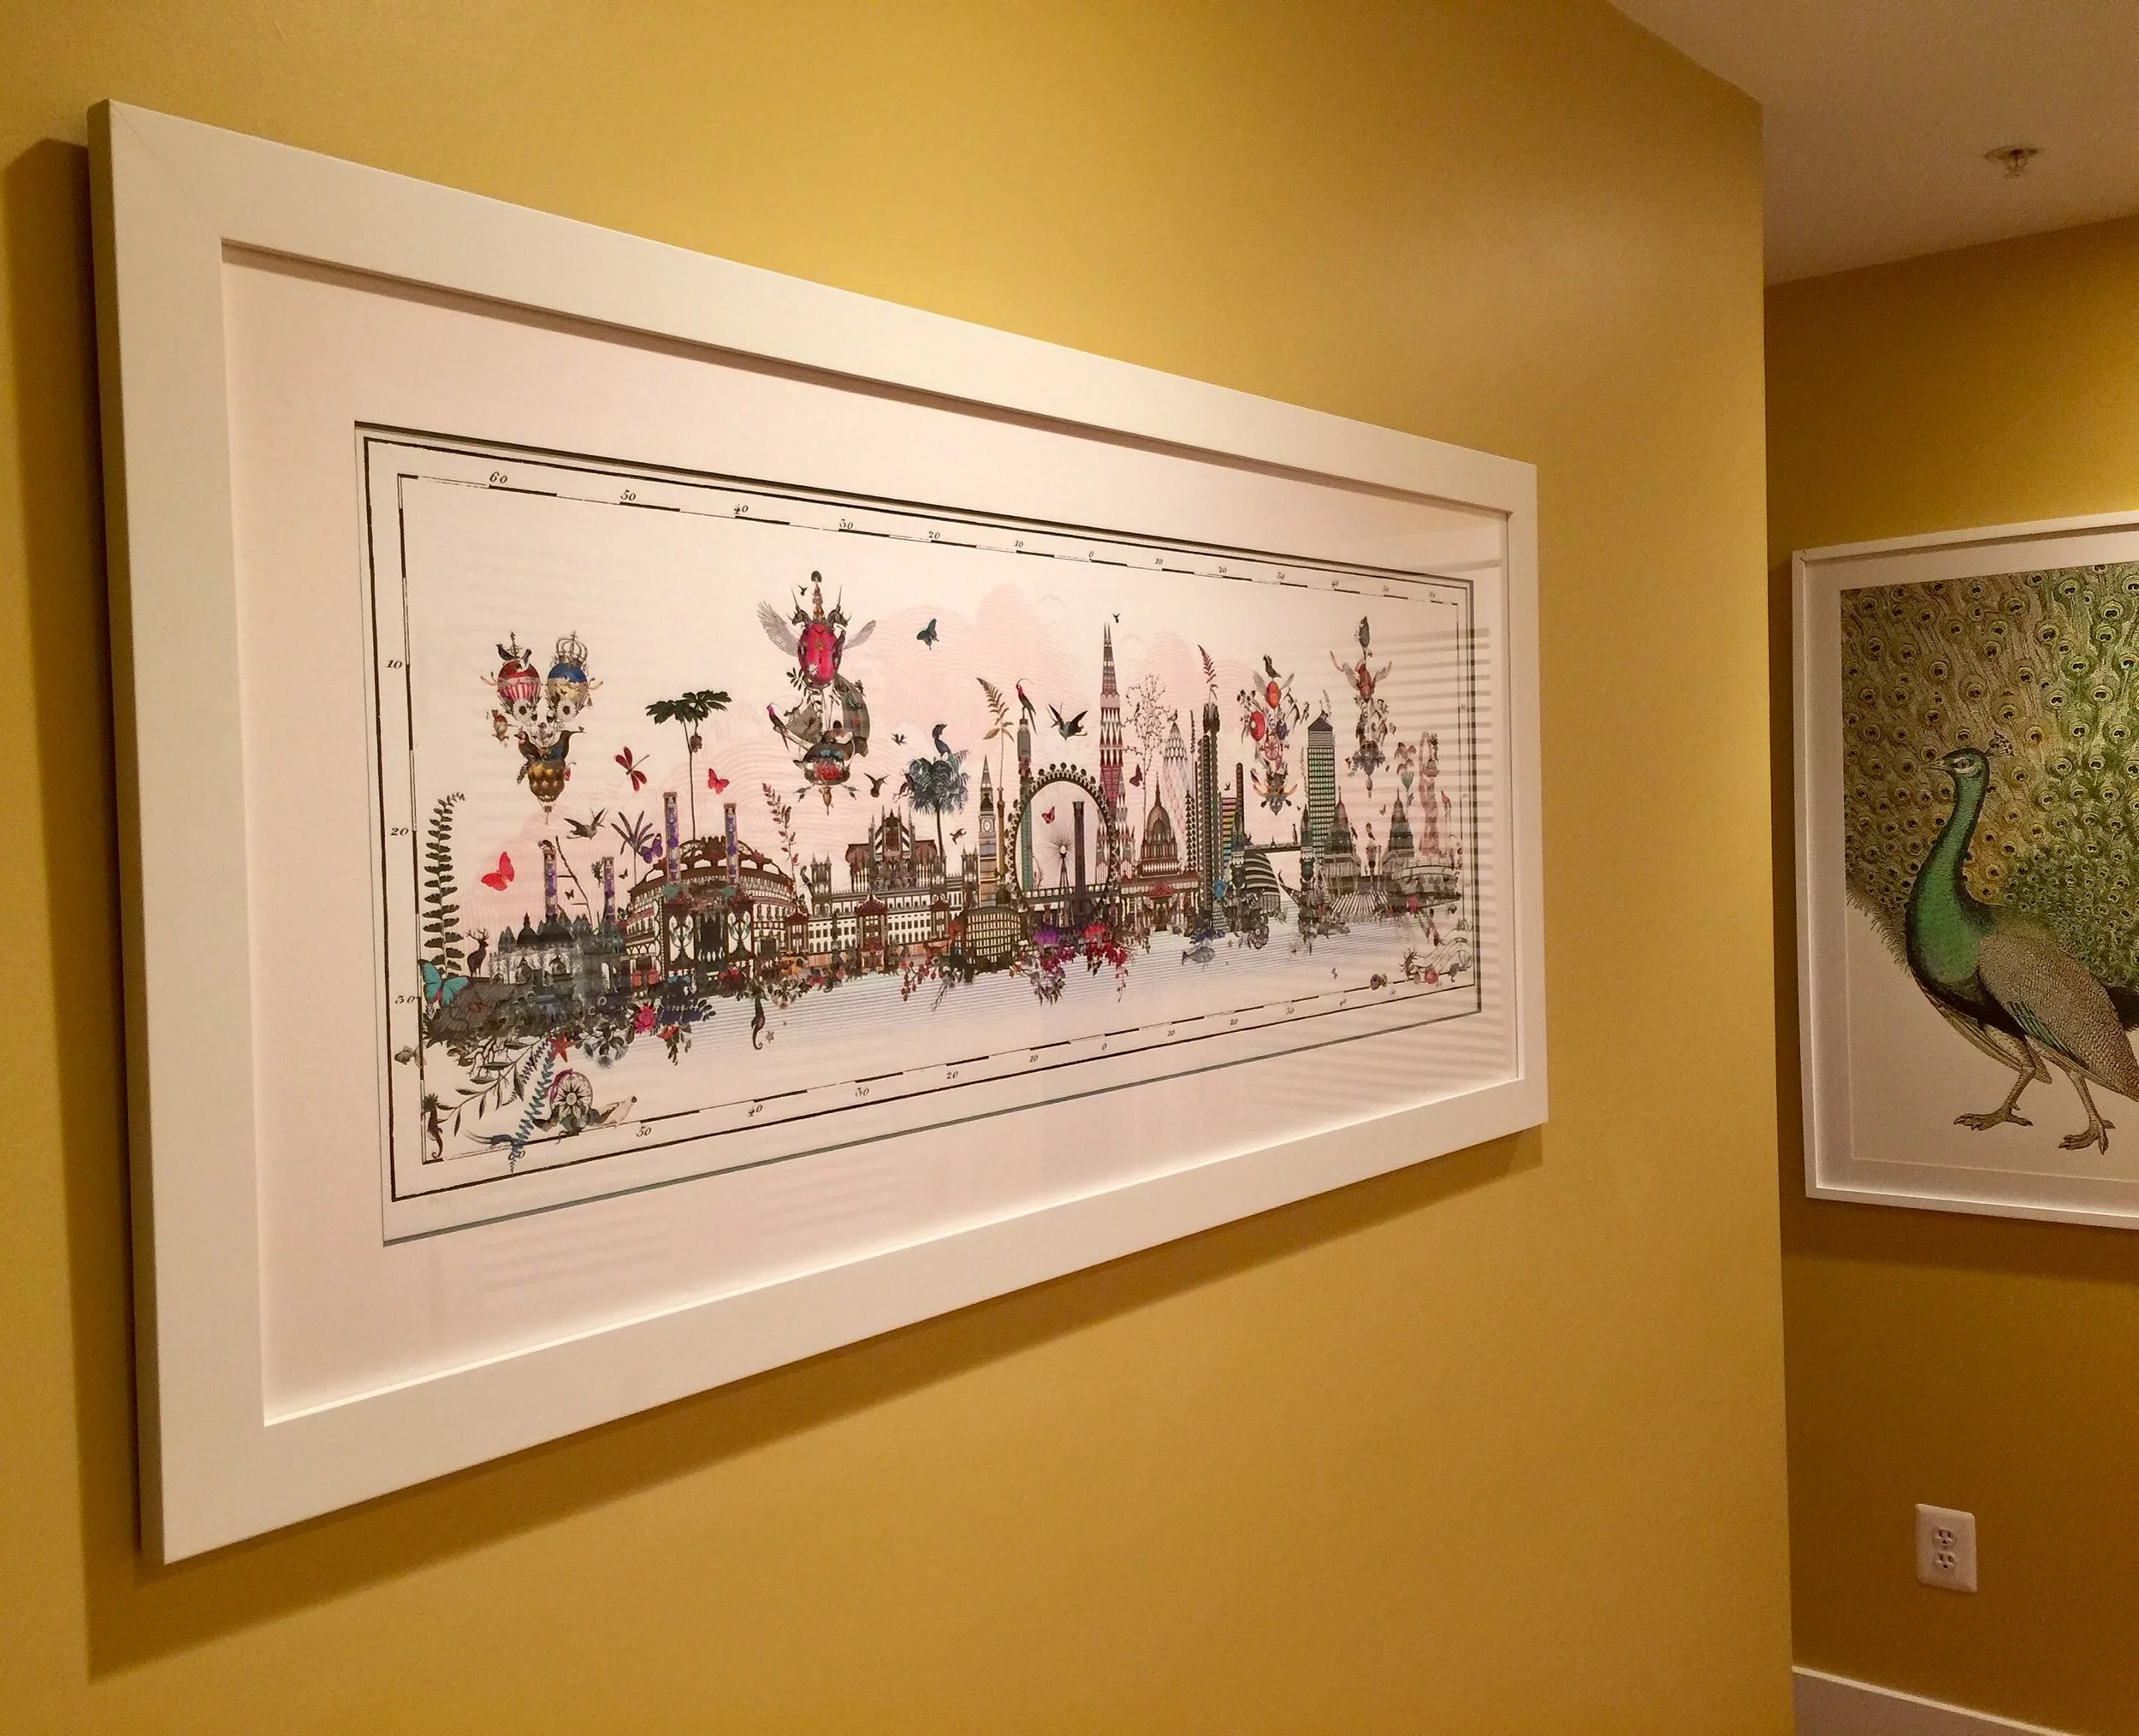
Behnam's Work on Display at Artist's Proof
Using a mortar & pestle, hot water and Chinese paint brushes, Behnam is able to create a range of colors and tones - noting that she enjoys the unpredictability of working with teas and spices.
The artist's work is currently on display at Artist's Proof in Georgetown, and you can see more of her work on her website and below.
Do you have a local artist you follow? Share in the comments below or email me at amber@athomedc.com!
Amber Harris is the owner of At Home DC, an interior decorator and a licensed real estate agent with Keller Williams Capital Properties working with clients in DC, Maryland and Virginia.